


")


Lighting plays a huge role in capturing stunning fish photos. Whether you’re photographing fish in an aquarium or the wild, the right lighting can make all the difference. It highlights the fish’s colors, textures, and movements. In this post, we will explain how to use the perfect lighting for fish photography and help you take clear and vibrant shots.
1. Understanding the Importance of Lighting
Lighting is essential for any type of photography, and fish photography is no different. Fish have shiny scales and intricate details that can be easily lost in poorly lit photos. The right lighting ensures that these details stand out, creating clear and sharp images.
The goal is to illuminate your subject (the fish) without creating harsh shadows or overexposing certain areas. Proper lighting enhances the colors and textures of the fish, giving your photos a natural and vibrant look.
2. Using Natural Lighting for Outdoor Fish Photography
When you are photographing fish in natural environments like lakes or rivers, natural lighting is your best friend. Early morning or late afternoon is the perfect time to capture stunning fish shots because the light is soft and warm.
During the day, the sun can be harsh, leading to overexposed or washed-out colors. To avoid this, try shooting in the early hours when the light is gentler. In the evening, just before sunset, you can also capture warm, golden tones, which create a beautiful effect.
If you’re shooting from a boat or along the shore, consider positioning yourself so that the sun is at your back or side. This will help light the fish without casting unwanted shadows or creating reflections on the water’s surface.
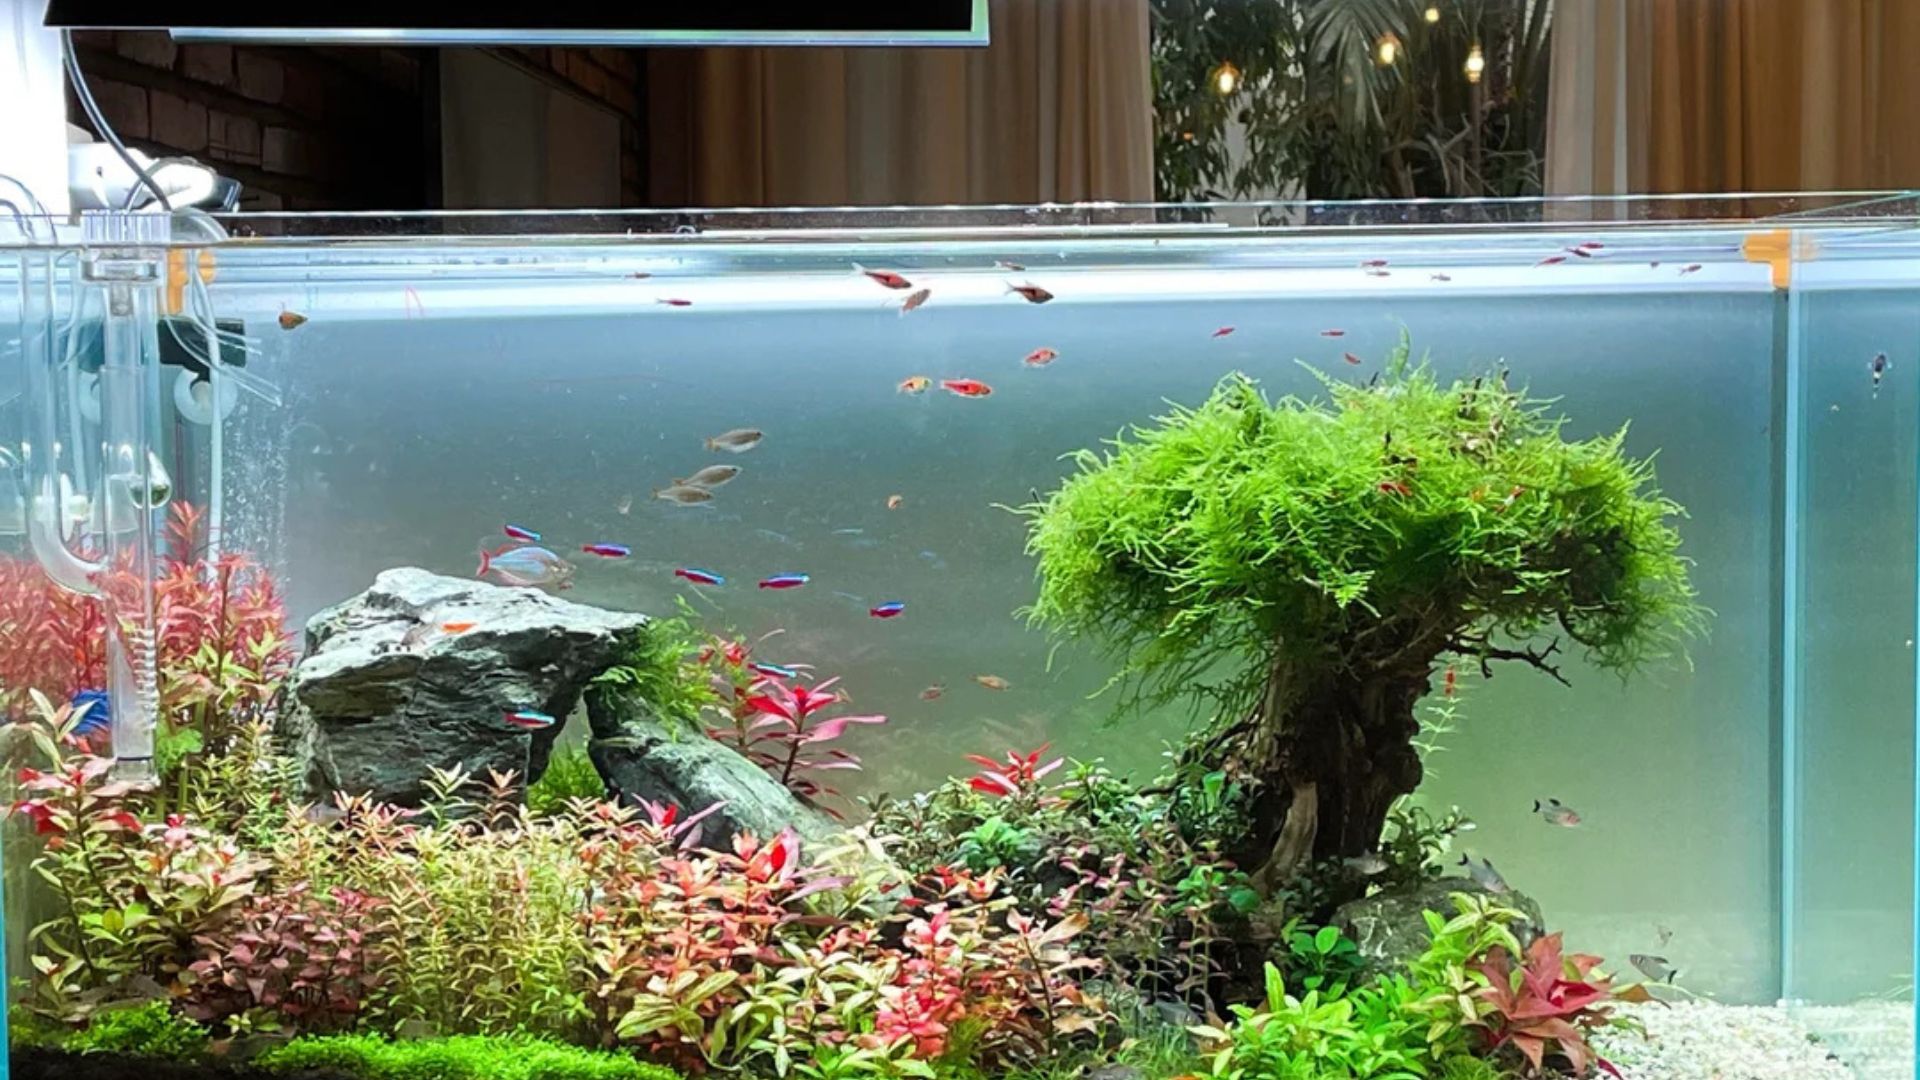
3. Using Artificial Lighting for Aquarium Fish Photography
For aquarium fish photography, you’ll likely need to use artificial lighting. Fish tanks often have built-in lighting, but it may not always provide the right amount of light or may create harsh reflections on the glass.
To avoid these issues, consider using external lighting such as LED panels, softboxes, or flash units. LED lights are often adjustable, allowing you to control the brightness and color temperature. Use diffusers to soften the light, as direct light can cause harsh shadows or highlights that distract from the fish’s natural beauty.
Position the light at different angles to see how it affects the fish and the tank’s background. Placing the light at a 45-degree angle above the tank is a good starting point, but experiment with different setups to find the best lighting for your scene.
4. Using Flash for Aquarium Photography
While using flash for fish photography can be tricky, it’s sometimes necessary for clear, detailed shots. When you use flash, it’s important to avoid direct flashes that can cause reflections on the tank’s glass.
To get the best results, use a bounce flash. This means pointing the flash at the ceiling or a nearby wall so the light is reflected onto the fish. This creates soft, even lighting that won’t cause harsh reflections or wash out the fish’s features.
You can also use a diffuser on your flash to soften the light even more. This helps avoid overexposed spots and creates a more balanced look throughout your image.
5. Controlling Shadows and Highlights
Managing shadows and highlights is key to getting the right balance in your fish photos. Shadows can create depth and add a sense of drama to your images, but too many shadows can hide the details of your subject. Similarly, highlights are important for emphasizing the fish’s shiny scales, but excessive highlights can wash out the colors and make your photo look flat.
To control shadows and highlights, use a fill light or reflector. A fill light helps soften the shadows, while a reflector bounces some of the light back onto the subject, preventing overexposure. You can use simple household items like white paper or foam boards as reflectors to help diffuse the light and eliminate harsh shadows.
When photographing fish in an aquarium, try to position the lights at different angles. This will help to fill in the shadows and highlight the textures and colors of the fish without overpowering them with light.
6. Choosing the Right Color Temperature
The color temperature of your lighting can also affect how your fish photos look. Light sources can be warm (yellowish) or cool (bluish), and choosing the right color temperature can help bring out the true colors of the fish.
When photographing in natural light, the sun’s color temperature changes throughout the day. Early morning and late afternoon light tends to have a warmer (yellowish) tone, while midday light is cooler and bluer. When photographing in an aquarium, ensure that the tank lighting is balanced, as some aquarium lights can give off a blue or green tint, which may not accurately reflect the fish’s true colors.
If the lighting in your aquarium is too cool or too warm, you can adjust the white balance on your camera to make the fish colors appear more natural. Many cameras allow you to manually set the white balance to match your lighting conditions, so experiment with different settings until you find the right one for your scene.
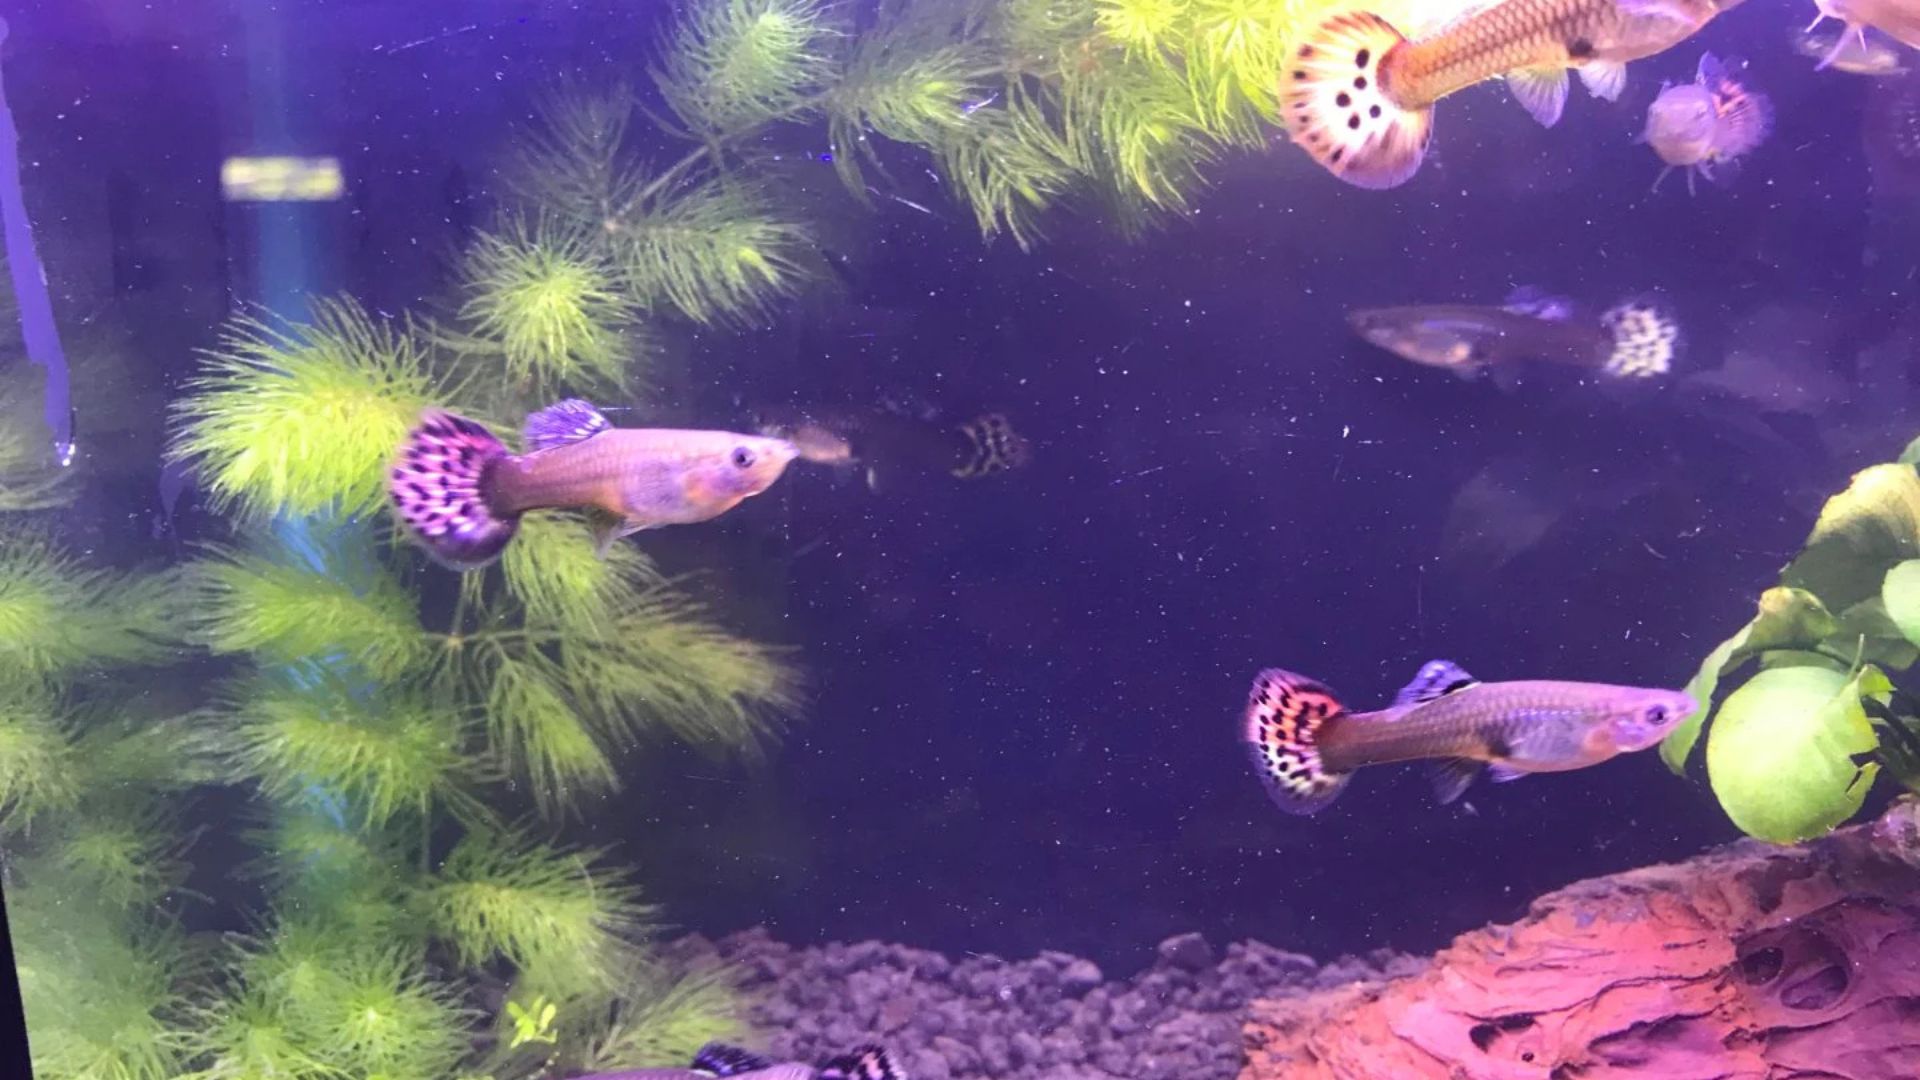
7. Avoiding Reflections in Glass Tanks
One of the most common issues in aquarium photography is dealing with reflections on the glass. When you use lighting in an aquarium, reflections from the tank’s glass can cause distractions in your photos.
To minimize reflections, get as close to the glass as possible and press your camera lens gently against it. This will eliminate any space between the lens and the glass, reducing the chances of reflections.
You can also try turning off other light sources in the room, especially those near the aquarium. Room lights and overhead lamps often create unwanted reflections on the glass, so shooting in low light or at night can help.
8. Experimenting with Lighting Angles
Lighting is not one-size-fits-all in fish photography. Different lighting angles can create different effects, so don’t be afraid to experiment. For example, backlighting the fish can create beautiful silhouettes or emphasize the translucent qualities of certain species.
Side lighting can highlight the texture and scale details of the fish, while overhead lighting creates an even and balanced effect. Try shooting with lights positioned at various angles to see how the light interacts with your subject and background.
Conclusion
Perfect lighting is essential in fish photography, whether you’re capturing fish in their natural habitat or shooting in an aquarium. By understanding how different lighting setups affect your photos, you can highlight the unique features of the fish and create stunning, vibrant images. Use natural light for outdoor shoots, experiment with artificial lights in aquariums, and always be mindful of reflections and shadows. With practice, you’ll master the art of lighting in fish photography and produce beautiful, captivating images.


